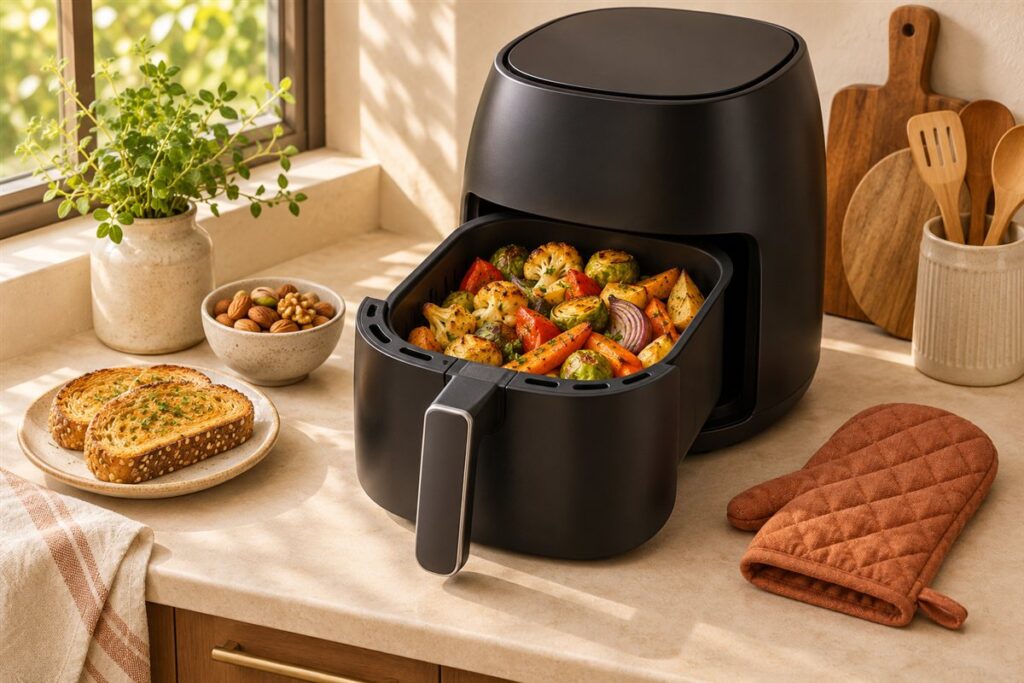
Green beans take only about 8 to 12 minutes in an air fryer, and the result is tender with lightly blistered skins. Toss them with a little oil and salt, spread them out, and give the basket a shake halfway.
What You Need
- About 300 to 450 g (10 to 16 oz) of green beans, fresh or frozen
- One or two teaspoons of oil
- Salt, pepper, and optional garlic, lemon or chilli flakes
Trim the stem ends from fresh beans, wash them and dry them thoroughly. Leave them whole, or cut very long ones in half so they fit comfortably.
Step by Step
- Put the beans in a bowl, add the oil and seasoning, and toss until coated.
- Heat the air fryer to about 180 to 200 C (355 to 390 F).
- Add the beans in a loose layer. A little overlap is fine for this vegetable, but avoid packing them tight.
- Cook for 5 minutes, shake the basket, then cook another 3 to 6 minutes.
- Taste one. If you prefer them softer, give them a couple more minutes.
Fresh Versus Frozen
Fresh beans brown a little faster and stay firmer. Frozen beans can go in without thawing, but they carry extra ice, so add a minute or two and shake more often. Pat off any visible frost first. Frozen beans may come out softer, which many cooks enjoy for a more roasted feel.
Flavour Ideas
- Garlic and parmesan: add the cheese in the last minute so it does not burn.
- Sesame and soy: toss with a splash of soy sauce and sesame seeds after cooking.
- Lemon and almonds: finish with zest and toasted almond flakes.
- Bacon bits: cook a few small bacon pieces alongside, making sure they are cooked through.
Sauces containing sugar can scorch on the basket, so add them after cooking where possible.
These beans make a handy base for a larger dish. Cook them as above, then toss with cooked pasta, add them to a grain bowl, or serve them next to roast chicken or fish cooked in the same machine. If you are cooking a protein and beans together, put the food that needs longer cooking in first and add the beans for the last 8 minutes or so. Check the protein with a thermometer and food-safety guidance, not only by colour. Wash the basket between foods if flavours differ greatly, since seasoning and oil can linger.
Choosing and Trimming Beans
Green beans vary more than most people expect, and the type you pick shapes the finished dish. Standard green beans are medium-thick and sturdy. Thin French-style beans, sometimes called haricots verts, are slender and cook very quickly. Flat Romano-style beans are broad and slightly chewy, and wax beans are pale yellow and mild. All can be cooked in the air fryer, but thin beans burn more readily while thick ones need more time.
When buying fresh beans, look for pods that are bright, firm, and smooth, and that snap cleanly when bent. Limp, rubbery, or spotted pods are past their best. Choose beans of similar thickness so they finish together. Store unwashed beans in the refrigerator in a breathable bag and use them within several days.
Trimming is simple. Snap or cut off the stem ends, where the pod attaches, since they can be tough. The thin tail end is edible and can stay on if it looks fresh, though many cooks remove it for neatness. Rinse the beans, then dry them thoroughly, as water on the surface prevents browning and leads to steaming. Leave whole for a crisp-tender side, or cut into shorter lengths if your basket is small or if you want pieces that are easier to eat with a fork. Very long beans can bunch together, so spread them out in the basket.
Doneness From Crisp-Tender to Blistered
There is no single right doneness for green beans, and the best result depends on what you like. The air fryer makes it easy to move along the spectrum with small changes in timing.
- Crisp-tender: Shorter cooking leaves a bright green color and a snap when bitten. This suits salads and people who prefer fresh vegetable flavor.
- Tender with light browning: Medium cooking softens the pod and adds spots of golden color. This is a good general side dish.
- Blistered and wrinkled: Longer cooking dries the surface slightly, concentrates flavor, and gives chewy, charred spots. Thin beans reach this stage fast.
Judge by sight and a taste test. Pull one bean from the basket, let it cool briefly, and bite it. If the middle is raw, keep cooking; if the surface looks leathery and dark, you have gone far. Beans continue to soften slightly after leaving the heat, so stop a little early if you want a firm texture. Shaking the basket halfway helps the color develop evenly, and cooking in a thin layer prevents steamed, dull spots.
Pairing, Sauces, and Toppings
Green beans take well to bold flavors, and a finishing touch can transform a simple side. Consider balancing richness, acidity, and crunch. Fat such as butter, olive oil, or a drizzle of toasted sesame oil carries flavor. Acid, from lemon juice or a splash of vinegar, brightens the taste. Crunch comes from toasted nuts, seeds, or crisp breadcrumbs.
Classic pairings include garlic and lemon, almonds with butter, bacon pieces with a little onion, and grated hard cheese. For an Asian-inspired plate, try soy sauce, grated ginger, garlic, and a pinch of chili flakes. For a Mediterranean feel, add olives, capers, tomatoes, and herbs. Sweet and savory glazes, such as honey with mustard, work too, but sugar can scorch, so add it in the final minutes or after cooking.
Fresh garlic burns quickly in high heat, so toss minced garlic in after cooking or use garlic powder before. Season with salt in moderation, and taste before adding more, particularly if your toppings are salty. Serve beans with roasted chicken, fish, steak, or grain dishes, or fold them into pasta and salads. Warm beans make a fine base for a dressed salad with red onion and a vinaigrette.
Canned Beans and Other Shortcuts
Fresh and frozen are the usual choices, but canned green beans can also work if you adjust expectations. Canned beans are already soft, so they will not turn crisp in the same way. Drain them well, rinse off the canning liquid if you want to reduce saltiness, and pat them very dry. Cook them briefly, mainly to dry out the surface and add some browning, and expect a softer result. They suit casseroles and quick sides more than crisp snacks.
Pre-trimmed fresh beans sold in bags save time. Check the date and look for any condensation inside the bag, which can speed spoilage. Pre-cut beans may be shorter, so they cook slightly faster than whole beans. Steam-in-bag varieties are designed for microwaving, so do not put them in the air fryer in their packaging; open the bag and transfer the contents instead, if the package says that is acceptable.
Other shortcuts include seasoning blends, bottled dressings, and flavored oils. Use them sparingly and check labels for salt, sugar, and allergens. If you are feeding a crowd, you can blanch beans ahead of time, dry them, and finish them quickly in the air fryer just before serving. That approach splits the work and keeps the beans bright. Always pat blanched beans dry before they go in the basket.
Making It a Snack or a Main
Green beans do not have to stay on the side. Cooked until blistered and lightly crisp, they become an addictive snack, particularly when tossed with salt, pepper, and a bit of spice. Pat them dry, coat with a thin film of oil, and cook until the skins wrinkle. Serve with a dip such as yogurt-herb sauce, hummus, or a spicy mayonnaise.
Breaded green beans, sometimes called green bean fries, are another option. Dip the beans in flour, then beaten egg, then seasoned breadcrumbs, and cook in a single layer so the coating crisps. Coat them just before cooking to prevent sogginess. Because the coating dries out the beans, they are best eaten soon after cooking.
For a main, combine beans with protein. Toss cooked beans with chicken, shrimp, tofu, or chickpeas, add a sauce, and serve over rice or noodles. Add them to a sheet of mixed vegetables, but cut harder vegetables smaller so they cook at the same pace. Leftover beans keep in the refrigerator for a few days in a covered container, and they reheat briefly in the air fryer. Discard any that smell sour or feel slimy.
FAQ
Can I cook them without oil?
Yes, but they will be drier and the seasoning will not cling as well. A small spray is enough.
Why are my beans shrivelled?
They were probably cooked too long or at too high a heat. Reduce the time, and check your model’s behaviour with a short first round.
Do I need to blanch green beans first?
No, they cook fine from raw. Blanching is optional and mostly helps with color and tenderness for thick beans.
Can I cook frozen green beans without thawing?
Yes, cook them straight from frozen. They release more water, so use a single layer and expect softer results than fresh.
How do I make green beans extra crispy?
Dry them well, coat lightly with oil, and avoid crowding. Longer cooking dries the surface, and a coating of breadcrumbs adds a crunchy shell.
Why do my beans taste bitter or grassy?
Undercooking or older beans can cause this. Cook until lightly browned and add salt and acid to balance the flavor.
Can I cook green beans with other vegetables?
Yes, if cut to cook at similar speeds. Add faster-cooking vegetables later.
How long do cooked green beans keep?
Refrigerated in a covered container, they generally keep for a few days. Reheat until hot, and discard them if they smell off.
What seasoning works best for kids?
Simple choices such as a little butter, salt, and grated cheese tend to be popular. Keep seasonings mild at first.
The Short Version
Trim, oil, season and cook in a loose layer for around 8 to 12 minutes, shaking once. Adjust for fresh or frozen beans and for your model, and follow the maker’s manual.