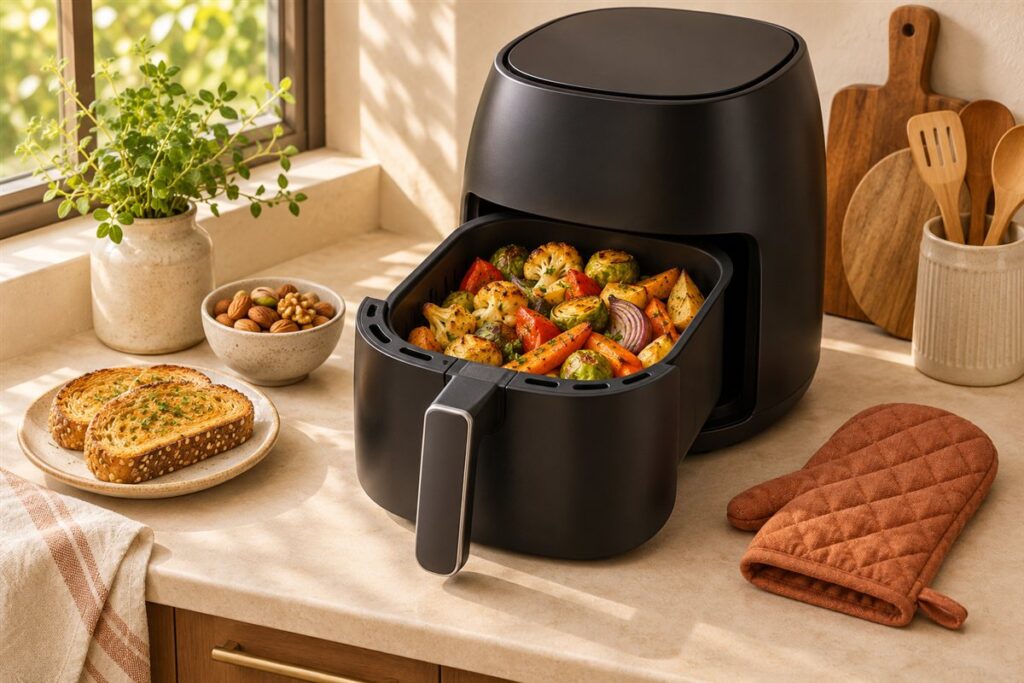
To match accessories to your air fryer, measure the usable space inside the basket, compare it with the item dimensions, and leave a gap for airflow. Capacity numbers on the box are not enough, because shape matters as much as volume. The steps below make it simple.
Know Your Basket Shape
Air fryers come in round baskets, square baskets, and wide drawers. A round pan fits a round basket neatly, while a rectangular tray may suit a wide drawer better. Two models with the same capacity can have different floor shapes, so a measurement is more reliable than a size label.
Step-by-Step Measuring
- Take out the basket and any insert, and place it on the counter.
- Measure the width of the floor at the widest point, then the length if it is not round.
- Measure the height from the floor to the top of the heating area.
- Check for handles, hinges, or dividers that reduce space.
- Record the numbers in one unit and keep them in your phone.
- Compare them with the outside dimensions of any accessory you plan to buy.
Fit Rules by Accessory
| Accessory | Fit guideline |
|---|---|
| Baking pan | Narrower than the floor, with a gap on each side and room above |
| Rack | Sits level and leaves space between food and the heat source |
| Liner | Slightly smaller than the floor, never climbing the walls |
| Skewers | Shorter than the basket width, or trimmed to fit |
| Gripper or tongs | Long enough to reach the floor without touching the sides |
Common Sizing Mistakes
- Using the basket rim width instead of the floor width.
- Ignoring the height of the item, so food touches the heating area.
- Buying by capacity label alone.
- Forgetting that handles add to the pan width.
- Forcing an oven pan into a small basket.
If the maker lists a maximum accessory size in the manual, follow that guidance.
A Quick Worked Example
Say your basket floor is a little over eight inches across and about four inches deep before the heating area. A seven-inch round pan leaves a modest gap on each side, but a pan that is four inches tall would leave almost no room above the food. A shallower pan, around two inches tall, is a better match. Doing this small bit of math before buying saves returns and frustration.
Reading Capacity Labels and What They Mean
Air fryer capacity is usually stated in quarts or liters, but that number describes the total volume of the basket or drawer, not the space you can use for a pan or rack. Corners, handles, a raised base plate and the clearance needed under the heating element all reduce the usable area. Two units with the same stated capacity can have quite different basket shapes, so a round tray that fits one may not fit the other.
When you shop for accessories, treat the capacity as a rough starting point only. The measurements that decide fit are the inside width, depth and height of the cooking space, and the shape of the floor. Look in your manual for dimensions, or measure with a ruler, and write them down before you open any accessory listing.
Also check whether your model has a fixed basket, a removable crisper plate, a rotating paddle or a window. Those features change what will sit inside. Oven-style units with shelves are measured differently from drawer-style ones, so compare like with like. If a listing says it suits a range of sizes, confirm the dimensions rather than trusting a broad claim, and keep the return policy in mind in case it does not fit.
Clearance for Heat, Airflow and Fan Safety
Fit is not only about whether an accessory goes in. It also has to leave enough space above and around for hot air to circulate. A pan that nearly touches the top can block airflow, cook unevenly and press close to the heating element. Allow a gap between the top of the food and the element, and between the sides of the accessory and the basket walls, as your manual advises.
Lightweight items need extra care. Parchment, foil and paper liners can lift in the airflow and contact the element, which is a fire risk. Always weigh them down with food and never run them in an empty unit during preheat. Use only materials the manufacturer permits, since some coatings and plastics are not designed for sustained heat.
- Choose accessories rated for the temperatures your air fryer reaches.
- Avoid covering the whole base with a solid sheet, which blocks air from rising through the holes.
- Make sure handles do not stop the drawer from sliding fully shut.
- Check that the accessory does not touch the fan area or sensors in oven-style models.
When in doubt, pick a slightly smaller accessory over one that fills the cavity. If a listing gives only an outer dimension, remember that handles and rims add length, so subtract them when comparing with your inside measurements and ask the seller for the cooking surface size.
Materials, Coatings and Care
The material of an accessory affects heat transfer, cleaning and lifespan. Metal pans conduct heat well and brown food quickly. Silicone is flexible and easy to remove from the basket, but it can slump and does not brown as sharply. Ceramic and glass hold heat but are heavier, can crack under sudden temperature changes and may not suit every model. Check the product description for its stated temperature limit and compare it with your air fryer’s maximum.
Non-stick coatings need gentle treatment. Avoid metal utensils and abrasive pads that scratch them, and replace pieces whose coating is flaking. Uncoated metal may need seasoning or a light oil film to prevent sticking. For accessories that go into a dishwasher, confirm that on the label, since harsh detergents can dull some finishes.
Dark metal browns more than shiny metal, so you may need to shorten time slightly. Always wash and dry accessories fully before the first use and before storage to prevent rust or odors. Keep the surfaces free of baked-on grease, which smokes at high heat. If a rack or tray warps, discard it, since a warped piece may sit unevenly and be hard to remove safely. Pieces that stack or nest can save cupboard space, but check that they are stable when loaded and that the top layer does not sit too close to the heating element during cooking.
Questions to Ask Before You Buy an Accessory
Before adding an accessory to your cart, run through a few practical questions. First, does the listing give inside dimensions, and do they fit your basket with room around them? Second, is the accessory made for air fryers, or is it a general oven item that may not allow for airflow? Third, what is the stated temperature limit and is it suitable for your usual settings?
Think about how you actually cook. A rack that lets you stack layers is only useful if you often cook more than one item and your basket is tall enough. A silicone liner suits sticky foods, but it is wasted if you mostly cook frozen snacks. A skewer set suits kabobs, but only if the length fits across the cavity.
Look at cleaning too. Pieces with many crevices trap grease and take longer to wash. Check that the accessory is easy to lift out while hot using tongs or mitts, and whether handles stay cool enough. Finally, check the return and warranty terms, and read the manual for any accessory limits the maker lists. Starting with one versatile piece, such as a well-fitted liner or a small pan, is usually wiser than buying a large kit you may not use.
Testing Fit at Home Before Cooking
Once the accessory arrives, test it empty before it touches food. Place it in the cool basket and slide the drawer shut or close the door, checking that nothing catches, scrapes or tilts. Look from the side to see how much space remains above it, and confirm that air vents and sensors are not covered.
Next, do a dry run with the lightest load you plan to use. Watch for items that shift or lift in the airflow. If it fits well, make a first cook with something forgiving, and check the results early. Compare browning at the center and edges to see whether the accessory is blocking airflow or creating a hot spot. Adjust the time rather than assuming a recipe written for another model will match.
Keep notes on which accessories suit which dishes, including the loading pattern that worked. If a piece fits poorly, return it while you still can, instead of forcing it. After use, let accessories cool before washing to avoid warping, and store them where they will not bend. Over time, the few items that fit well and get used often will serve you better than a drawer full of ill-fitting extras. Keeping a short list of sizes that fit, including the width of any rack feet, saves time when you shop later, and taking a photo of the empty basket with a ruler across it makes a handy reference.
FAQ
How much gap should I leave around a pan?
Enough for air to move freely, often a finger or two wide. Your manual may give more specific advice for your model.
What if I have a dual-drawer air fryer?
Measure each drawer separately, since they may differ. Treat each one as its own small basket.
Can I use a regular oven baking pan in an air fryer?
Only if it fits with clearance and is safe at the temperatures involved. Check the dimensions and the pan's heat limit. Avoid pans that fill the cavity or touch the heating element.
Do accessories change cooking times?
Often, yes. Solid pans slow browning underneath, and dark metal browns faster. Check food earlier than usual and adjust by color and doneness.
Are accessories for one brand compatible with another?
Sometimes, if the dimensions suit, but compatibility claims vary. Compare the measurements and check the listing rather than relying on brand names or capacity numbers alone.
Is a rack worth buying?
It can help when you cook multiple layers or want food lifted off the base. It is not needed for every user, so consider what you cook.
Can I put foil in the air fryer?
Many manuals allow it in limited ways, but it must not block airflow or touch the element. Check your manual and weigh it down with food.
How do I clean accessories safely?
Follow the care label. Soak and wash by hand if unsure, avoid abrasives on coatings, and dry fully before storing.
What if my accessory fits but food sticks?
Add a light oil film, use a liner permitted by your manual, or adjust the loading pattern. Do not scrape coated surfaces with metal tools.
The Short Version
Measure the floor and height of your basket, compare with the item size, and leave space for airflow. Shape matters more than the capacity label, so always check the real numbers.