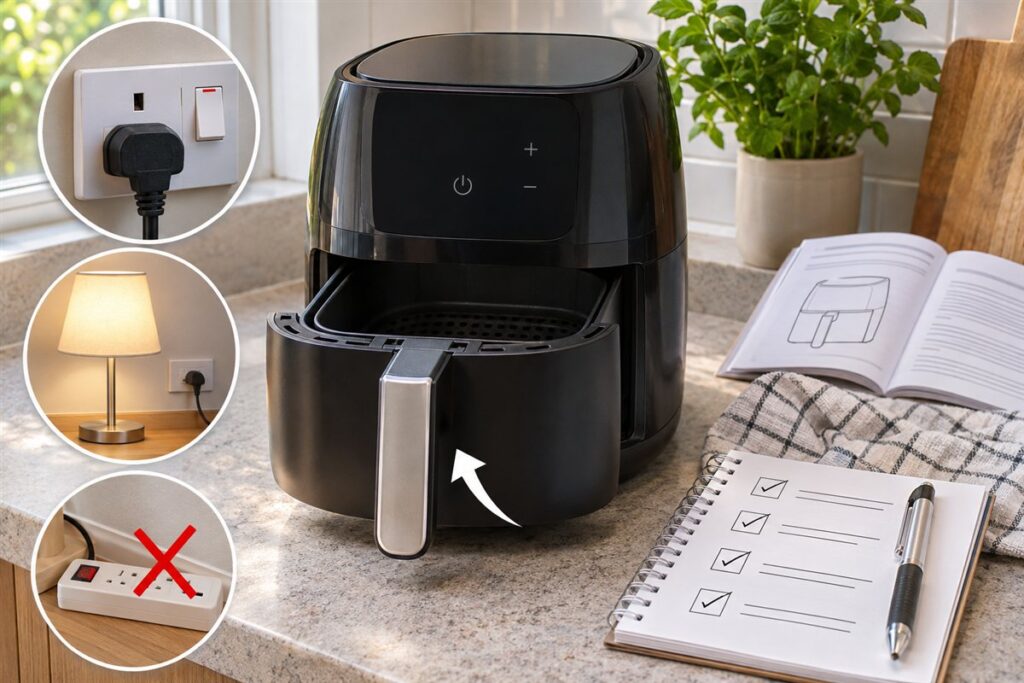
When an air fryer shows no response, the cause is often simple: a loose plug, a basket that is not fully seated, or a setting that was not confirmed. The general checks below cover the everyday reasons. If none of them help, stop and contact the maker.
Everyday Reasons
Many models have a sensor that only lets the unit run when the basket or drawer is fully in place. Others need a button press to confirm a program. A wall outlet or extension lead that is not delivering power can also look like a dead appliance.
General Checks, in Order
- Make sure the plug is fully pushed into the outlet and the outlet switch, if any, is on.
- Test the outlet with a different small appliance to see whether it has power.
- Plug the air fryer directly into a wall outlet instead of an extension lead or power strip, unless the manual says otherwise.
- Push the basket or drawer firmly home until it settles into position.
- Check that the controls are set properly and the program was confirmed.
- Look at the power cord for visible damage without bending or pulling it hard.
What the Signs May Mean
| What you see | General guidance |
|---|---|
| No lights at all | Recheck the outlet and plug, then try another outlet |
| Lights but no heat or fan | Recheck basket position and settings, then check the manual |
| Error code on screen | Look up the code in the manual |
| Burnt smell, sparks, or damaged cord | Unplug if safe to do so and contact the maker |
What Not to Attempt
Do not open the casing, test internal parts, or try to repair any electrical component. Do not use a unit with a damaged cord or plug. If the checks above do not solve the problem, follow the troubleshooting section of the manual and contact the maker or the seller for help with a fault.
Prevent It Next Time
- Let the unit cool before cleaning, and keep water away from the plug and controls.
- Do not wrap the cord tightly around the body while it is warm.
- Keep vents clear so the unit does not overheat.
It helps to keep the manual, the model number, and any proof of purchase close by when you contact the maker. Note what you already checked, such as the outlet and the basket position, and describe what the display or lights do. Clear details usually lead to faster help and tell the maker whether the fault is likely to be simple or not.
Checking the Outlet and Household Circuit
When an air fryer shows no sign of life, the supply is the first thing to confirm. Plug a different small appliance, such as a lamp or phone charger, into the same outlet to see if it works. If it does not, the problem is the outlet or circuit, and the air fryer may be fine. Look at your home’s breaker or fuse panel to see if a switch has tripped, and reset it only if you know how to do so safely.
Some kitchens have outlets that are controlled by a wall switch, or outlets with a built-in reset button. Check both. A ground-fault outlet near a sink may have tripped and need to be reset using its own button.
- Try a different outlet on another wall or circuit.
- Avoid power strips and extension leads during testing.
- Make sure other heavy appliances are not running on the same circuit.
If an outlet feels warm, smells of burning, or shows scorch marks, stop using it and have a qualified person inspect it. Do not push on with an outlet that seems damaged. If other appliances work normally in the outlet and your air fryer still does not respond, move on to the unit itself.
Basket Position and Safety Sensors
Most air fryers will not start unless the basket or drawer is fully seated. A small switch or sensor detects its position, and a drawer that is a few millimeters out of place may cut off the heater and fan. Pull the basket out, check that nothing is caught on the rails, and push it back in firmly until it settles. Some models give a small click or a change in the display when the basket is detected.
Look for things that stop the basket sitting right. Food crumbs, a stray piece of liner, or a warped tray can prevent a proper fit. Check that the handle is attached properly if it is removable and that the basket is not damaged or bent. A basket that has been dropped or twisted may no longer align.
If your unit has a separate lid or door, make sure it closes completely. Do not try to hold a sensor down or tamper with the switch in any way. These are safety features. If the unit starts after reseating the basket, note what the problem was and check that the parts are clean and dry so it does not recur.
Controls, Settings, and Confirmation Steps
A unit that has power but does not heat can simply be waiting for a command. Digital models often need you to select a program or set a time and temperature, then press a start or confirm button. Some require you to hold the button for a moment. If the display lights up but nothing else happens, read the control section of the manual to see the exact sequence.
Check for features that stop operation, such as a child lock. Many digital panels have a lock mode that disables the buttons, and it is released by holding a certain button. Also check if the unit is in a standby or pause state. If the timer is set to zero, the unit may not start.
- Set a time greater than zero and a temperature within range.
- Press the start button and wait a few seconds for a response.
- Look at the display for messages or icons.
Dial models may have a timer that must be turned past a certain point for the heater to engage. If the controls feel loose, stuck, or unresponsive, do not force them. Note the symptom and consult the troubleshooting section of the manual or contact the maker.
Cords, Plugs, and Visible Damage
Check the cord and plug with your eyes and hands, but without pulling or bending sharply. Look for cuts, kinks, crushed sections, discoloration, or melted plastic. Check the prongs of the plug for bends or burn marks. A plug that feels hot after use or a cord that has been trapped under the unit may be damaged. Do not use a unit with any sign of damage to the cord or plug.
Some plugs, especially in certain regions, contain a replaceable fuse. If your manual mentions one, follow its instructions and use only the specified type. If it does not mention a replaceable fuse, do not open the plug. Never attempt to repair the cord with tape.
Think about how the unit has been stored. A cord wrapped tightly around the body while hot can wear at the point where it enters the unit. A cord that was pinched in a drawer or against a wall may be damaged internally even if it looks fine outside. If you suspect cord damage, stop using the unit and contact the maker for advice. A damaged cord is a safety problem and not a reason to experiment.
Warranty, Service, and Replacement Decisions
Once the outlet, basket position, settings, and cord have all been checked, a unit that still will not turn on likely has an internal fault. This is where the manual and the warranty come in. Find your receipt and the warranty terms, and note how long the cover lasts and what is needed to make a claim. Contact the maker or the seller, and give them the model number, the purchase date, and a description of what you tried.
Be specific about symptoms: no lights at all, lights with no heat, an error code, or a sudden failure during a cook. If the failure happened after a spill, a drop, or water getting into the controls, say so, since these can affect warranty cover. Do not disassemble the unit, as that may void the warranty and is unsafe.
If the unit is out of warranty, ask whether service is offered and compare the cost with a new model. When choosing a replacement, look for clear manuals, accessible support, and a warranty you can understand. Keep the new unit’s paperwork together from the start, and check that the outlet and circuit you use are in good condition so that the same problem does not repeat.
FAQ
Could a tripped circuit be the cause?
It can be. If other items on the same circuit are also dead, the issue is with the circuit and not the air fryer.
Is it worth resetting the unit?
Only if the manual describes a reset. Otherwise, follow the maker’s steps and avoid improvising.
Why does my air fryer light up but not heat?
The basket may not be fully seated, or the program may not have been confirmed. Check the controls and basket position, then read the manual.
Could a child lock stop my air fryer from starting?
On some digital models, yes. Look in the manual for how to switch the lock off.
Is it safe to replace the plug fuse myself?
Only if the manual describes a replaceable fuse and the type to use. Otherwise, do not open the plug and contact the maker.
What if the outlet works but the air fryer does not?
Check the basket position and controls, then inspect the cord for damage. If nothing helps, contact the maker.
Can moisture stop the air fryer from turning on?
Water in the controls or plug area can cause faults. Unplug the unit, leave it to dry in a ventilated place, and ask the maker before using it again.
Should I try a different outlet?
Yes, as a test, ideally one on a different circuit and without an extension lead. If the unit works there, the first outlet may be at fault.
How do I know if repair is worth it?
Ask the maker about service options and costs, then weigh them against the age of the unit and the price of a replacement.
The Short Version
Check the outlet, plug, basket position, and settings first. If it still will not turn on, follow the manual and contact the maker.