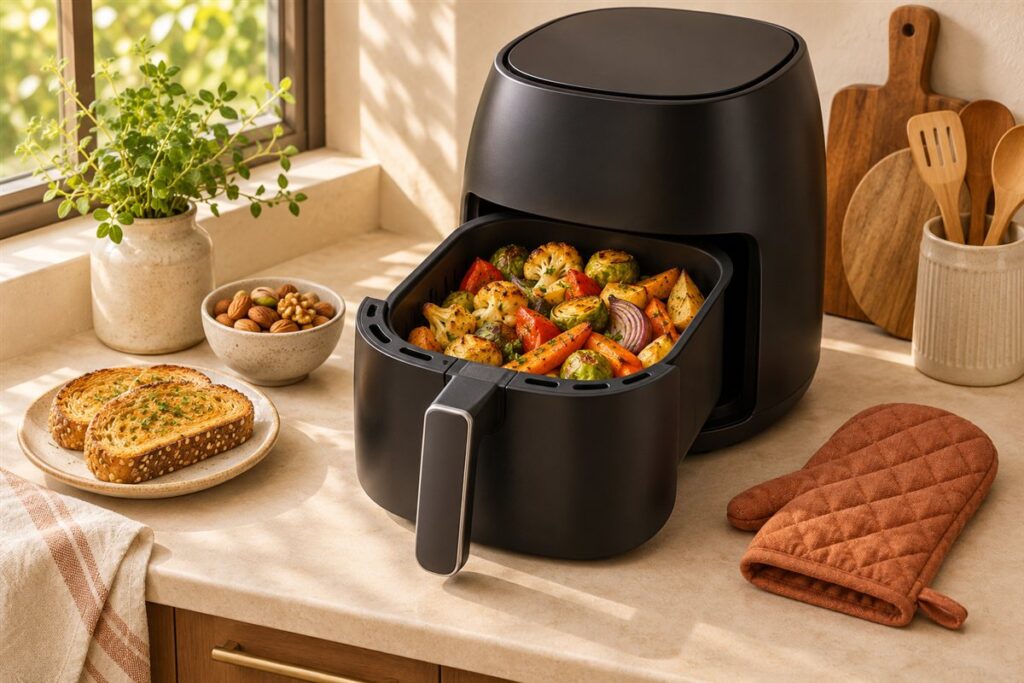
Homemade tortilla chips take only a few minutes in an air fryer. Cut tortillas into wedges, coat with a whisper of oil, and cook in a thin layer, shaking often. They go from pale to burnt fast, so stay close to the machine.
Choosing Your Tortillas
Corn tortillas give a classic chip with a sturdy crunch. Flour tortillas make lighter, more blistered chips that brown faster. Slightly stale tortillas work well because they hold less moisture, but fresh ones are fine too.
A Short Walkthrough
- Stack the tortillas and cut them into six or eight wedges with a sharp knife or pizza wheel.
- Put the wedges in a bowl and toss with a teaspoon of oil, or lightly spray them. Too much oil makes chips greasy.
- Sprinkle with salt right away so it sticks.
- Set the air fryer to about 160 to 180 C (320 to 355 F).
- Add a single thin layer of wedges. Work in batches rather than overfilling.
- Cook 2 minutes, shake, then cook for 1 to 3 more minutes, checking every 30 to 60 seconds near the end.
- Lay them on a plate to cool. They crisp more as they cool.
Why Batch Size Matters
Light chips can blow around and land against the heating element, so keep layers thin and give the basket a firm shake instead of poking at them. A crowded basket traps steam, which leaves chips bendy in the middle. If a few pieces fold in half, flatten them with tongs before the next round.
Seasoning Combinations
- Lime and salt: squeeze lime over them as they come out.
- Chilli and cumin: mix the spices with the oil before tossing.
- Cinnamon sugar: use flour tortillas, brush with butter and dust after cooking for a sweet version.
- Garlic and herbs: use garlic powder and dried oregano.
Add finely shredded cheese only in the last moments, as it melts and sticks to the basket.
Homemade chips pair well with salsa, guacamole, bean dip or melted cheese. For nachos, spread the cooked chips on an oven-safe dish that fits the basket, add toppings, and return to the air fryer for a minute or two at a lower temperature until the cheese melts. Keep the toppings light so the chips stay crisp, and check the dish and your manual for size limits and heat limits. Let the dish cool briefly before carrying it, as hot cheese and metal can cause burns.
Corn or Flour: What Changes in the Basket
Corn tortillas are the classic base for chips because they turn crisp and brittle with little fat. They are thin, dry-leaning and often smaller, so they cut cleanly into wedges and crisp quickly. Flour tortillas contain more fat and gluten, which makes them puff and bubble. They give a lighter, flakier, almost cracker-like chip, but can brown unevenly and curl more.
Thickness matters more than the label. A thick, doughy tortilla takes longer and may stay chewy in the center, while a very thin one can scorch before the rest of the batch finishes. Check the package for the tortilla size and consider whether the wedges will fit your basket with a little space around them. Fresher, softer tortillas contain more moisture and need a bit longer than stale ones, which is one reason leftover tortillas that have dried slightly make good chips.
If you have a choice, avoid tortillas with heavy added sugars or flavored doughs for a first attempt, because they brown faster and can burn at the edges. Whole grain or specialty tortillas vary a lot, so treat them as a test batch and adjust timing by color rather than by the clock. Keep the cuts the same size within a batch so everything toasts at the same pace.
Cutting and Prepping Wedges
Stack a few tortillas and cut them into six or eight wedges, or into strips for dipping. A sharp knife or a pizza cutter makes cleaner edges than scissors, and clean edges brown more evenly. Smaller wedges crisp faster but are easier to scorch, while larger ones are sturdier for thick dips.
Separate the wedges before they go in. Tortillas that cling together steam in the middle and come out half soft. A light film of oil, applied with a brush or a fine spray, helps salt and spices stick and promotes even color. Too much oil makes chips greasy and can drip into the drawer, so use the minimum that gives a faint sheen.
Season right after the oil, while the surface is slightly tacky. Fine salt clings better than coarse flakes. If you plan to add a spice blend with sugar or cheese powder, consider adding it after cooking to avoid burning. Keep the prep surface dry, and work in the batch size your basket handles in one layer, since overlapping pieces steam instead of crisping. If your kitchen is humid, tortillas can feel limp even when fresh, so leaving the cut wedges out on a rack for a few minutes before oiling them dries the surface and gives a more even crunch.
Watching for Doneness and Avoiding Burnt Edges
Tortilla chips go from pale to burnt quickly, so treat the clock as a rough guide and stay close. Start checking early, shake the basket gently partway through, and look for a light golden color with edges that have just begun to darken. Chips continue to crisp as they cool, so a piece that feels slightly pliable when hot may be perfect a minute later.
A common error is pulling chips only when every piece looks deeply colored. By then the thinnest wedges are bitter. Instead, remove the finished pieces as they are done and return the rest for another short burst. Use tongs or a spatula, and keep the batch on a wire rack or paper towel to let steam escape.
Because air fryers differ in power and airflow, the hot spots in your unit may brown the outer or rear pieces first. Rotating or rearranging mid-cook evens this out. If a batch tastes bitter or smells acrid, discard the burnt pieces, wipe out crumbs from the drawer so they do not smoke, and shorten the next round. Small adjustments of thirty seconds are usually enough to correct the result. Also listen and smell: a toasty corn aroma means the chips are nearly ready, while a sharp acrid smell means the thinnest pieces have already passed the point of no return.
Matching Chips to Dips and Toppings
The chip you make should suit what you plan to serve. Sturdy, thicker corn wedges handle chunky salsa, bean dip and guacamole without snapping. Lighter flour chips are better with smoother dips or as a crunchy topping for salads and soups. If you intend to pile on toppings for nachos, a slightly thicker cut keeps its structure under cheese and beans.
- Nachos: cook the chips first, then add cheese and toppings and return briefly to melt, watching closely so the cheese does not drip onto the heating area.
- Cinnamon-sugar chips: toss after cooking while still warm, so the sugar sticks without burning.
- Lime and chili: add citrus zest or powder after cooking so the flavor stays bright.
- Soup toppers: break chips into strips and add at the table so they stay crisp.
Serve soon after cooking for the best crunch. If you are making a large amount for a gathering, cook in rounds and keep finished chips in a low warm place, uncovered, rather than stacking them in a closed container. Seasoned chips also pair differently with dips, so lime and chili suit creamy dips well, while plain salted chips are the most flexible choice for a mixed spread with several sauces.
Storing and Refreshing Homemade Chips
Homemade chips have no preservatives, so they go stale as moisture returns from the air. Let them cool completely before storing, since warm chips trap steam and turn soft. Keep them in an airtight container at room temperature, away from heat and humidity, and eat them within a few days for the best texture.
If chips lose their snap, a short return to the air fryer at a moderate temperature restores much of the crunch. Spread them in a single layer and check after a minute or two, since they are already dry and can darken fast. Avoid storing chips with moist toppings or dips, which soften them quickly.
It also helps to cook smaller amounts more often than a huge batch you may not finish. If you want to prepare ahead, cut and stack the wedges, wrap them well and refrigerate for a short time, then oil, season and cook fresh. Discard any chips that smell rancid, since oil can turn over time, particularly if heavy oil or fatty seasonings were used. Label the container with the date so you know how long it has been sitting. A paper towel in the bottom of the container can soak up stray moisture and oil, and it is worth replacing it if it becomes damp, since a damp liner will soften the chips.
FAQ
How long do they keep?
In an airtight container they stay crisp for a few days. If they soften, a minute in the air fryer usually refreshes them.
Why are some chips chewy?
They were thicker, or overlapped others. Cook thick chips a little longer in a separate batch.
Do I need to preheat the air fryer for tortilla chips?
A short preheat helps chips start crisping right away, but it is not essential. If your manual recommends or discourages preheating, follow that. Either way, keep a close eye on them, since chips cook fast.
Can I use stale tortillas?
Yes, slightly dried tortillas often make crisper chips because they have less moisture. Do not use any that are moldy or smell off. Discard tortillas that are past safe use.
Why do my chips curl up?
Curling happens when tortillas puff or dry unevenly. Lightly pricking them or arranging wedges in a flat layer can help. Flour tortillas curl more than corn.
How much oil should I use?
Just a light brush or spray, enough for a faint sheen. Too much creates greasy chips and extra smoke. Corn tortillas in particular can crisp with very little.
Can I cook flavored or spinach tortillas?
You can, but they brown differently and may burn faster. Treat the first batch as a test and shorten the time. Judge by color and texture rather than the clock.
Why does my air fryer smoke when I cook chips?
Loose crumbs, seasoning with sugar, or too much oil can smoke at higher heat. Clean the drawer between batches and lower the temperature if needed. Check your manual if smoke continues.
Can I make chips from taco shells or pita bread?
Pita wedges work in a similar way and need only a light oil coating. Pre-formed taco shells are already cooked and just need warming. Adjust timing and watch for browning.
The Short Version
Cut, lightly oil, salt and cook in thin layers for roughly 3 to 5 minutes, shaking often. Cool them on a plate to finish crisping, and adjust for your model’s strength and your maker’s manual.