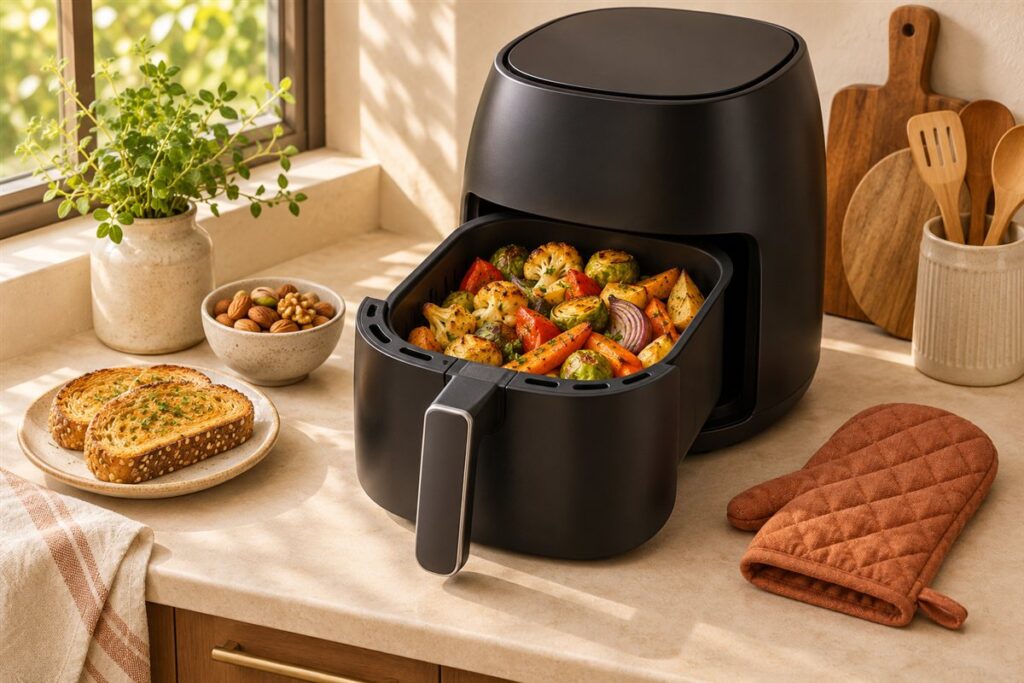
An air fryer is a compact oven with a strong fan that moves hot air around the food, giving a browned, crisp surface with little oil. If you are new to one, the main habits to learn are using small batches, shaking or turning food, and checking early.
How It Works in Plain Terms
A heating element warms the air, and a fan pushes it around the basket. Because the space is small, food browns faster than in a full-size oven. That is why recipes often use lower temperatures and shorter times than oven versions.
Your First Cook
- Read the manual’s safety notes and cleaning advice before the first use.
- Place the machine on a flat, heat-resistant surface with space around it, especially behind the vents.
- Wash the basket and tray as the manual directs, and dry them.
- Choose something simple, such as frozen chips or vegetables tossed in oil.
- Preheat for a few minutes if your model supports it.
- Spread the food in one layer and cook for the time on the packet.
- Shake or turn the food halfway and check for doneness a little early.
Habits That Make a Difference
- Do not overfill: air needs room to move.
- Pat food dry: moisture slows browning.
- Use a little oil: a light spray or toss is enough for most foods.
- Cut evenly: uniform pieces finish together.
- Keep paper light: loose paper can fly into the element, so only use liners your manual allows and weigh them down with food.
Rough Temperature Ranges
| Type of food | General range |
|---|---|
| Frozen snacks and chips | 180 to 200 C (355 to 390 F) |
| Vegetables | 180 to 200 C (355 to 390 F) |
| Chicken pieces | 175 to 195 C (350 to 385 F) |
| Baked goods | 150 to 175 C (300 to 350 F) |
These are general ranges to adjust per model. Look at your first results and change the next round.
Checking Doneness and Cleaning
Do not rely on colour alone for meat, poultry, fish or egg dishes. Use a thermometer and follow food-safety guidance for each food. After cooking, let the machine cool, then clean the basket and tray as the manual describes, because built-up grease can smoke on the next use.
Foods That Suit and Foods That Struggle
An air fryer works best on foods that benefit from dry, circulating heat. Frozen snacks, potato wedges, chicken pieces, sausages, fish fillets, roasted vegetables, and reheated pizza or pastry all tend to do well, because the fan crisps the surface while the inside warms through. Small, evenly cut pieces are the easiest place to begin, since they cook at the same pace and are simple to turn.
Some foods are harder. Very wet batters can drip through the basket and make a mess, so they usually need a coating that sets first or a recipe written for air fryers. Light leafy greens, such as loose spinach, can blow around in the fan. Large, dense joints may brown on the outside long before the center is safe to eat, and cheese or toppings can slide off or scorch if they are not secured. Popcorn kernels, uncovered liquids, and anything that foams up are also better left to other equipment unless your manual says otherwise.
When you want to try something new, look for a recipe written for an air fryer and compare its quantities with the size of your basket. If a recipe was designed for a larger or smaller unit, adjust the amount rather than packing the basket tight. A good rule is to start with foods you already know well, so you can judge the result and learn how your model behaves before trying more complicated dishes.
Adapting Packet and Oven Instructions
Many frozen foods print oven directions on the packet, and some now include air fryer directions as well. If yours does, follow those first. If it only gives oven instructions, a common approach is to lower the temperature somewhat and shorten the time, then check early. Because the chamber is small and the fan is strong, food browns more quickly than in a full-size oven, so it is easy to overshoot when you copy the oven numbers exactly.
Treat the first attempt as a trial. Set a shorter time than you think you need, pull the basket out, and look at the food. If it is pale, add a few minutes and check again. Write the result on a sticky note or in your phone so the next batch is easier. The same applies to home recipes: begin with a conservative time, then adjust.
Thickness matters more than weight. Two pieces of chicken of the same weight may cook differently if one is flat and the other is thick, so aim for even pieces. If the packet gives a time for a full tray, remember that a smaller amount in your basket may cook faster, while a crowded basket may take longer. For anything that needs to reach a safe internal temperature, use a thermometer rather than relying on the clock.
Oil, Seasoning, and Coatings
A thin film of oil helps seasoning stick and gives a crisper finish, but you rarely need much. Toss vegetables or potatoes in a small amount of oil in a bowl, rather than pouring it into the basket, so it coats evenly. Choose an oil that suits high heat, and be aware that heavily smoking oils can fill the kitchen with fumes. Check your manual before using aerosol sprays, because some makers advise against them for the sake of the coating.
- Dry seasoning: Spice rubs and salt stick better after a very light oil coating, and fine powders can blow around, so press them on.
- Breadcrumb coatings: Press the crumbs on firmly. Dust with a little oil so they turn golden rather than staying pale.
- Sugary glazes and sauces: Add these near the end, because sugar burns quickly in a small, hot space.
- Marinades: Pat the surface dry before cooking so the food browns instead of steaming.
Fatty foods, such as sausages or bacon, release grease into the drawer. Keep an eye on it, and clean up promptly so old fat does not smoke during the next cook. Taste as you go, and make small changes to the amount of seasoning and oil, because a little goes a long way in a small, hot space.
Common First-Week Problems
Most early frustrations have simple fixes. If food comes out pale and soft, the basket is probably too full or the food was wet. If it is dark outside and raw inside, the temperature was too high for the thickness, so lower it and extend the time. If it is dry, shorten the cook or add a little oil next time.
- Light foods flying around: Weigh them down or use a rack. Remove loose paper.
- White smoke from the unit: Often fat or old residue on the heating area or in the drawer. Let it cool, clean it, and check the manual.
- Uneven color: Shake or turn more often, and make sure pieces are a similar size.
- Food stuck to the basket: Use a thin oil film and let sticky items set before moving them.
- Strong plastic smell on the first use: Some new units give off a smell at first. Follow the maker’s advice on running it empty, and contact them if it persists.
Give yourself a few cooks to learn the machine. Notice how quickly it heats, how loud the fan is, and how much food fits, and your results will become steadier. None of these problems means the machine is faulty, and most disappear after a couple of tries.
Safe Placement and Everyday Habits
Good habits make an air fryer pleasant to live with. Set it on a flat, heat-resistant surface away from the edge of the counter, and keep the cord out of walkways and away from hot parts. Do not push it against a wall or under low cabinets, because hot air and steam need room to escape. Plug it straight into a wall socket where possible, and avoid sharing a power strip with other heavy appliances, unless the manual says it is fine.
Handle the basket carefully. Steam and hot air come out when you pull it open, and the handle and drawer can stay hot for a while. Keep children and pets out of reach, and let the unit cool fully before you move it. Never leave it running unattended for long periods, and unplug it when you are done.
Keep the manual somewhere easy to find. It tells you what the buttons do, how to clean each part, what accessories are allowed, and what to do if something goes wrong. If the unit ever gives off a burning smell, stops working properly, or shows damage to the cord or plug, stop using it and contact the maker. A few minutes spent setting up the space well makes every later cook calmer.
FAQ
Do I always need to preheat?
Not always. It helps with browning on some foods, and your manual may suggest it. Many cooks skip it for quick items.
Can I open it mid-cook?
Yes. Most models pause when the basket is pulled out, which makes shaking and checking easy.
What foods should a beginner try first?
Frozen chips, chicken pieces, and roasted vegetables are easy starting points. They are forgiving, quick to check, and show you how your model browns food.
Is it normal for the first use to smell?
A slight smell from new parts can happen. Follow the maker's advice on cleaning and any empty first run, and contact them if the smell is strong or continues.
Why is my food pale instead of crisp?
The basket may be too full, the food too wet, or the time too short. Spread it in one layer, pat it dry, and add a little time.
Can I cook frozen food straight from the freezer?
Many frozen foods are made for this and can go in without thawing. Follow the packet directions, and thaw raw meat in a safe way before cooking unless the instructions say otherwise.
Do I need to buy accessories right away?
No. A thermometer, tongs, and an oven mitt cover most needs at the start, and you can add racks or pans later once you know how you cook.
How often should I clean the machine?
Clean the basket and drawer after each use, and wipe the inside once it cools. Frequent light cleaning stops grease from building up and smoking.
The Short Version
Learn the machine with simple foods, use small batches, shake often and check early. Treat any time and temperature as a baseline for your model and always keep the maker’s manual close.