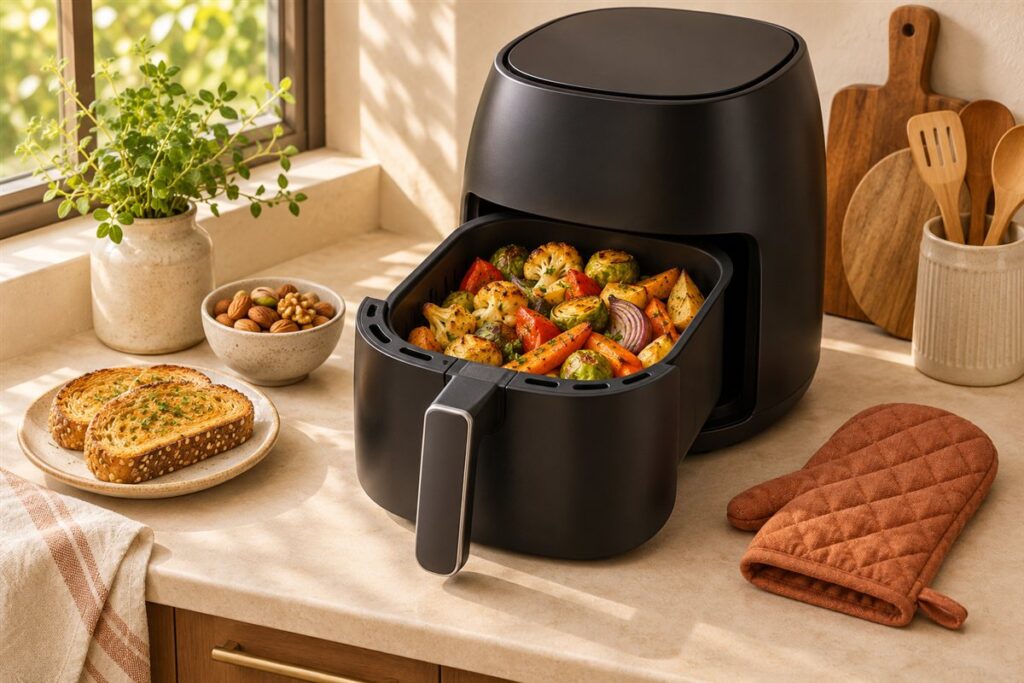
To keep food from sticking, use a thin coat of oil, keep the basket clean, avoid crowding, and give food a few minutes to release before you move it. Liners help with sticky foods. Below are the steps that make the biggest difference.
Why Food Sticks
Sticking happens when proteins and sugars bond to a dry, worn, or dirty surface. A basket with leftover oil film, scratches, or a damaged coating holds on to food more easily. Wet food and very sugary glazes also stick faster.
Practical Steps
- Begin with a clean, dry basket. Old residue is a common cause of sticking.
- Pat wet food dry with a paper towel before cooking.
- Coat the food lightly with oil, or spray a thin layer on the basket, following the manual.
- Spread items in a single layer with small gaps.
- Do not move food in the first few minutes, since it needs time to form a crust and release.
- Turn or shake partway through, using tongs for delicate pieces.
- Wait a minute after cooking before lifting out food that looks stuck.
Foods That Stick Most
| Food | Why it sticks | What helps |
|---|---|---|
| Fish fillets | Soft, delicate flesh | A liner and gentle turning |
| Marinated meat | Sugars in the sauce | Pat dry, add sauce late |
| Breaded items | Coating bonds to metal | Light oil spray and space between pieces |
| Potatoes | Natural surface sugars | Soaking, drying, and a light oil coat |
| Cheese | Melts and spreads | A liner or small pan |
Tools That Help
- Parchment liners made for air fryers, with openings for airflow.
- Silicone mats that you wash and reuse.
- An oil sprayer for a thin, even coat.
- Soft-tipped tongs that protect the coating.
Check the manual for your model, since some makers have advice about oil sprays and liners.
Timing and Sauces
Sugary glazes and sauces burn and stick quickly in a hot basket. Brush them on during the last few minutes of cooking instead of at the beginning, so they set on the food without baking onto the metal. Cheese toppings work the same way. Adding them late keeps the basket cleaner and makes cleanup far easier afterward.
Cleaning Habits That Prevent Sticking
Wash the basket after every cook, even if it looks clean. A thin, invisible film of oil turns tacky when heated again and acts like glue for the next batch. Rinse soap away fully, and dry the basket before you put it back in the unit.
How the Basket Surface Affects Release
Different baskets release food in different ways, so it helps to know what yours is made of. Many have a nonstick coating over metal. Others are bare stainless steel, and some units use a perforated tray or a wire rack. Your manual will say which one you have and how to look after it, and that guidance affects how you prevent sticking.
A nonstick surface depends on a smooth, intact coating. Once it is scratched, worn down, or covered in baked-on residue, food starts to grip. Bare metal does not have a coating to lose, but it has tiny pores and texture where proteins can bond, so a light film of oil is more important. A wire rack gives the least contact area, yet delicate foods can still drape through the gaps and stick.
- Coated basket: use less oil, avoid metal tools, and watch for flaking or dull patches.
- Bare steel basket: oil lightly and allow food to form a crust before you move it.
- Rack or grid: choose firmer foods, or add a perforated liner for soft ones.
- Silicone insert: use one that is made for your model and leaves room for airflow.
If the coating on your basket is peeling, stop using it for food and contact the maker about a replacement part.
Preparing Food So It Releases
Most sticking is decided before the food goes in. Proteins and sugars stick when they are wet, exposed, and pressed against hot metal. Reducing surface moisture and creating a barrier are the two things that help. Pat meat, fish, and vegetables with paper towel, and let any marinade drip off. Wet food steams against the basket and then bonds as it dries.
For breaded foods, make sure the coating is complete with no bare patches, since uncoated spots are where food grips. For fish with skin, place the skin side down on a lightly oiled surface and leave it to crisp and release before turning. Starchy foods such as cut potatoes are less sticky after a rinse and thorough dry, because surface starch is what glues the pieces to the metal and to each other.
- Dry the surface with paper towel.
- Toss with a small amount of oil in a bowl so every face has a thin film.
- Season after oiling, so the seasoning clings.
- Add the food to a basket that is clean and dry, spaced apart.
- Leave it alone until it has colored, then turn.
Frozen foods with ice on them should have the loose ice shaken off before cooking, since melting ice adds water that encourages sticking.
Liners, Mats, and Barrier Options
Where a basket alone is not enough, a barrier layer can solve the problem. The common choices are perforated parchment, silicone mats with holes, and, if your manual allows it, foil. Each has trade-offs. They reduce direct contact and make cleanup easier, but they also block some airflow, so food on a liner may brown less underneath.
Perforated paper liners are convenient for fish, marinated meats, and anything cheesy, but they should be weighed down by food during cooking and must never be placed in a preheating empty unit, because they can lift and touch the heating element. Silicone mats are reusable and wash easily, but they can trap heat and need to be sized so that they do not cover the whole base. Liners also have temperature limits that differ by product, so check the packaging before you use one.
- Choose the right size: a liner that is the same as the food footprint is better than one covering the base.
- Look for airflow holes: solid sheets reduce crisping and can cause steaming.
- Replace worn items: a brittle or sticky liner or mat should be thrown away.
- Do not add extra layers: stacking a liner on a mat adds heat and blocks air.
For tiny items such as bite-size breaded pieces, a liner is often unnecessary if you shake or turn them regularly.
Choosing the Right Oil and Amount
Oil acts as a thin buffer between the food and the metal, but too much or the wrong kind can cause its own problems. Oils that smoke at low temperatures can burn on the basket and leave a sticky brown film that makes the next batch stick worse. Refined oils with a high smoke point are the usual choice for hot cooking. Your manual or oil label gives guidance.
The method of application also matters. Pouring oil into the base of the basket pools it and creates a greasy spot where food sits. Coating the food itself puts the oil where it is needed. A pump sprayer filled with your own oil lets you apply a very thin layer, which is useful for coated foods. Some makers warn against aerosol cooking sprays because additives can leave residue on nonstick surfaces, so check the manual before you use one.
- Start with less than you think you need, and add a little more if the food looks dry.
- Skip added oil for fatty foods such as bacon, sausages, and skin-on poultry.
- Do not oil the basket if the manual advises against it.
- Wipe away pooled fat from the previous batch before loading the next.
Using a consistent amount lets you spot patterns and fix them, which is more useful than trying a different oil each time.
Turning, Timing, and Lifting Food Out
How you handle food mid-cook affects sticking. Early on, proteins form a bond with the surface, and then, as a crust develops, they release. Trying to lift or turn too soon tears the surface and leaves it stuck to the basket. Waiting until the food moves freely with a gentle nudge is the sign that it has released. If it resists, give it another minute.
Use the right tool. Silicone-tipped tongs and thin plastic or wooden spatulas that are rated for heat slide under food without scratching the surface. Metal tools can scrape a coating and create new places for food to stick. When the cooking is finished, let delicate foods rest in the basket for a minute, which allows the crust to firm up and the bond to loosen.
- Slide, do not pull: slip a spatula under the food at a low angle.
- Turn once or twice only: repeated turning breaks coatings and can tear fish.
- Lift gently: support soft items with two tools rather than prying with one.
- Add sticky toppings late: cheese, glazes, and sauces go on near the end.
If food keeps sticking despite good technique, look at the basket condition and the amount of residue before changing recipes. A surface in poor shape will undermine every other fix.
FAQ
Is it okay to use a lot of oil?
You usually do not need much. Too much can pool, smoke, or build up on the basket. A thin coat is the usual advice.
My basket has a worn coating. What should I do?
Worn spots make sticking worse. If the coating is flaking or peeling, stop using the basket and contact the maker.
Do I need to oil a nonstick basket?
Often a little oil on the food helps with browning and release, even on a nonstick basket. Follow your manual, and avoid pooled oil or aerosol sprays if the maker warns against them.
Why does cheese stick so badly?
Cheese melts and spreads, then sets onto the metal as it cools. Add it near the end, use a perforated liner or small dish, and let it firm up slightly before removing it.
Can I use foil in my air fryer?
Some manuals allow it with conditions, and others advise against it. If it is allowed, keep it weighed down by food and away from the heating element and vents.
What should I do if breaded food stuck and the crumbs came off?
Next time, dry the food before breading, press the crumbs on firmly, mist lightly with oil, and leave the food alone until the crust is set before turning.
Are silicone mats safe in an air fryer?
Many are made for this, but temperature ratings differ. Check the packaging, choose a size that leaves airflow around it, and replace it if it becomes sticky or damaged.
Why does the second batch stick more than the first?
Leftover fat, crumbs, and sugars from the first batch bake onto the basket. Wipe the basket between batches as your manual allows.
Does a bigger load make sticking worse?
Yes, because pieces touch each other and trap moisture. Cook in a single layer with small gaps to give each piece room to release.
The Short Version
Keep the basket clean, dry the food, use a thin oil coat, and leave space between pieces. Add a liner for delicate or sugary foods, and follow your manual.