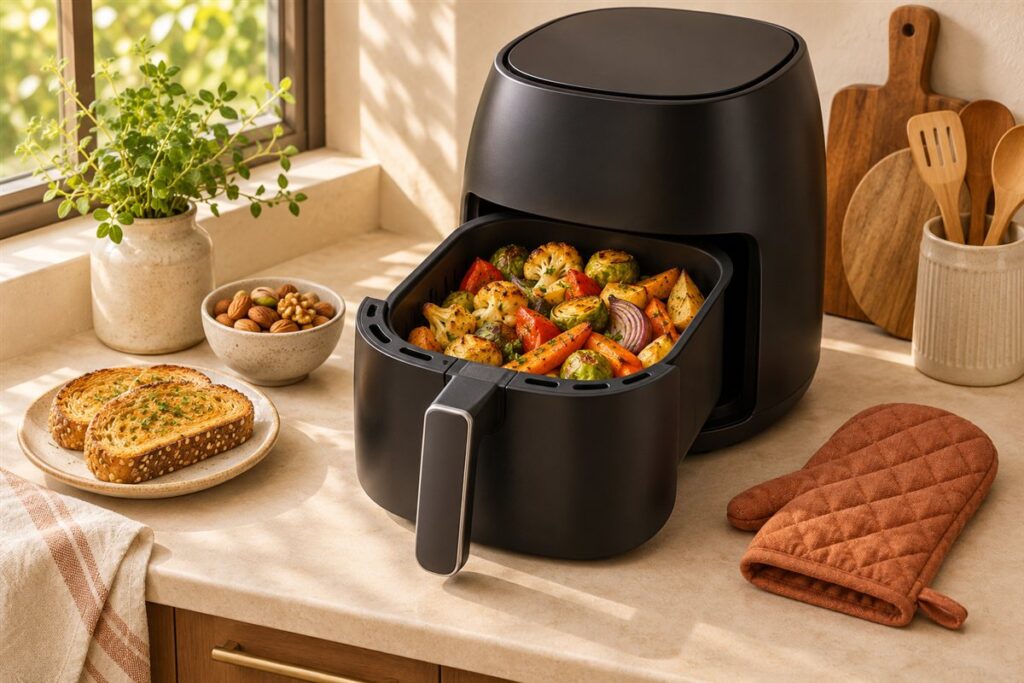
An air fryer can cook small pizzas and reheat slices with a crisp base and bubbling cheese. Most take about 4-12 minutes at around 330-375 F, depending on type. The limiting factor is size, so check that the pizza fits the basket with room around the edges.
What Works Best
Personal-size pizzas, flatbreads, English muffin pizzas, and single slices suit most baskets. Large frozen pizzas rarely fit, so cut them into wedges if you want to try it. Always leave space for air to move above and around the pizza.
By Type of Pizza
| Type | General time | Tip |
|---|---|---|
| Leftover slice | 3-5 minutes | Lower heat keeps the cheese from burning |
| Frozen personal pizza | 8-12 minutes | Check the package first |
| Homemade small crust | 6-10 minutes | Pre-bake the crust briefly |
| Pizza rolls and bites | 5-8 minutes | Shake the basket |
Steps for a Fresh Small Pizza
- Roll the dough thin to roughly the size of your basket, leaving a gap at the edges.
- Brush with a little oil and prick the center with a fork.
- Cook the base alone for 2-3 minutes at a moderate setting.
- Add sauce, cheese and toppings, but keep them light.
- Cook for another 4-7 minutes, until the cheese bubbles and the crust browns.
- Lift out with a spatula or tongs and let it rest for a minute.
Keeping Things From Flying About
The fan can blow light toppings and loose cheese around. Place cheese over the toppings, press everything down lightly, and avoid thin slices of pepperoni that curl up. Use baking paper made for air fryers only if the manual allows it, and weigh it down with food so it does not lift into the heating element. Liners with holes made for air fryers are an option when the maker recommends them.
Reheating and Quick Variations
Naan, pita and tortillas make quick bases that need only a few minutes. Brush lightly with oil, add sauce and cheese, and cook until the edges brown. Because these bases are thin, they can burn fast, so check at about 3 minutes. For slices, a lower temperature keeps the cheese from scorching before the base is warm.
Because every basket is different, treat the first pizza as a trial run. Note the time, the heat and how the crust turned out, and adjust the next one by a minute or a few degrees. Small changes make a big difference in such a small space.
Dough and Base Options
The base decides how your pizza behaves in a small, fan-driven space. Fresh dough, shop-bought dough, pre-made bases, flatbreads, naan, pita, tortillas and English muffins all work, each with different results. Fresh homemade dough gives the most authentic flavor but is stretchy and can droop through the basket holes, so roll it thin, dust it with a little flour and consider a brief pre-bake. Ready-made bases are sturdy and convenient and usually need little more than topping and heating.
Thin bases such as pita and tortillas cook in a couple of minutes and suit quick snacks. They may curl in the airflow, so weigh them down with toppings or flip them partway through. Thicker bases, such as small pre-made crusts, need a gentler heat so the outside does not darken before the middle is ready.
- Roll or press dough to fit the basket with a gap around the edge.
- Prick the center to limit bubbling.
- Use semolina or flour to prevent sticking, shaking off the excess.
- Check any gluten-free base for specific cooking directions.
When making dough at home, let it rest so it relaxes and stretches easily. Cold dough springs back. Cut it into portions sized for your basket before shaping. If the base keeps sagging into the holes, use a perforated liner made for air fryers if your maker allows, or a small rack that supports it.
Sauce, Cheese and Topping Choices
In a small cooking space, less is more. A thin layer of sauce prevents a soggy center, and thick sauces stay in place better than watery ones. Spread it to near the edge but leave a small border. Too much sauce makes the base wet and slows crisping.
Cheese choice matters. Low-moisture mozzarella melts well and browns without releasing too much water. Fresh mozzarella is lovely but wet, so tear it, drain it and pat it dry, or use it sparingly. Hard cheeses add flavor and brown quickly, so use a little. Shredded cheese can blow around, so lay it over the toppings to hold them down.
Toppings should be small, thin and pre-cooked where needed. Raw vegetables release water, so slice them thinly or cook them first. Raw meats must be fully cooked before serving and take longer than the pizza itself, so use pre-cooked or cured toppings and follow food safety guidance. Thin pepperoni can curl and fly up, so press it into the cheese.
- Pat wet ingredients dry before adding.
- Keep toppings to a modest amount.
- Add fresh herbs, greens and drizzles after cooking.
- Be careful with spicy oils, which can burn.
Taste your sauce, since pizzas can be bland if the sauce is under-seasoned. Add herbs and a pinch of salt to the sauce, not just on top.
Handling, Moving and Lifting Pizza Safely
A pizza in a basket is awkward to move, and a hot pizza can fall apart. Build the pizza on a piece of baking paper or on a peel or flat board, then slide it into the basket, if your maker allows paper. If a liner is used, it must be weighed down by the food and must never touch the heating element. Perforated air fryer liners are usually the safest option.
Use a wide spatula or tongs to lift the cooked pizza. Slide a thin spatula under the center, support with a second tool at the edge, and lift straight up. Take care, because the basket, the liner and the pizza are all very hot. Heat-protective gloves help, and keep your face away from the opening because steam can escape.
Smaller pizzas are easier to move. If you want a larger pizza, cut it in half before topping, or cook two halves one after the other. Place cooked pizza on a rack, not a flat plate, so steam can escape from underneath and the base stays crisp.
- Do not leave the basket unattended while the cooker is on.
- Keep children away from the hot unit.
- Let the pizza rest briefly before cutting to avoid burning your mouth.
A pizza wheel or sharp knife makes slicing easier, and a board protects counters.
Troubleshooting Common Pizza Problems
Pizza in an air fryer has a few typical problems, and most have simple fixes. A soggy center usually means too much sauce, wet toppings or a base that was not pre-baked. Use less sauce, dry the toppings and give the base a short head start. A burnt top with a pale bottom suggests the heat is too high or the element is too close. Lower the temperature and move the pizza lower in the basket if possible.
If the edges burn before the center browns, the pizza may be too close to the walls or the heat may be too strong. Shrink the pizza, reduce the heat, or cover the edges loosely with a small piece of foil only if the manual allows. If toppings blow around, press them into the cheese or use a heavier layer of cheese on top. If the cheese does not brown, add a short extra time at the end.
- Check the pizza halfway through and rotate it if the cooking is uneven.
- Keep notes on which settings suited which type of base.
- Do not overload with toppings, as heavy pizzas cook unevenly.
- Always let the unit cool before cleaning.
If you see smoke, switch off and let the unit cool before investigating. Cheese and grease can drip and burn on the floor of the drawer. Clean the drawer afterward, following your manual, so that the next cook does not smoke. If smoke continues with a clean unit, contact the maker.
Making Pizza Night Practical
Because baskets are small, pizza night in an air fryer works best with a plan. Choose a size that fits and decide how many rounds you will need. Prepare all the bases and toppings in advance, so you can assemble quickly. Set up a small station: bases, sauce, cheese and toppings laid out in bowls, so each person can build their own.
Cooking in rounds means some people eat first and others wait. Offer a starter, such as a salad or crisp vegetables, to bridge the gap. Keep finished pizzas on a rack in a low oven, uncovered, to stay warm without going soggy. Cut them into portions and serve with simple sides.
Involve children by letting them add toppings, but keep them away from the hot unit. Offer a few choices so everyone finds something they like. Think about dietary needs: provide a vegetarian option and label cheese and meat choices clearly. Check labels for allergens in bases, sauces and toppings.
When the evening ends, let the appliance cool completely before you clean it and read your manual for care. A tidy routine makes it easy to repeat. Over time, you will learn the settings that work best with your favorite bases, and you can adjust toppings to match.
FAQ
How do I reheat a slice without a soggy base?
Use a lower temperature and short time, and place the slice directly in the basket or on a rack. Check often, since a thin slice warms quickly.
Do I need to thaw frozen pizza?
Usually not. Package directions for oven cooking can be shortened, but check often and compare with the label.
Which base works best for beginners?
Ready-made bases or flatbreads are the easiest, as they are sturdy and need little prep. Naan and pita are quick and forgiving.
Can I use fresh mozzarella?
Yes, but it is wet. Drain it, pat it dry and use a modest amount to avoid a soggy center.
Do I need baking paper?
Not always. Paper can help with moving dough, but it must be allowed by the maker, perforated if possible, and weighed down by the food.
Why does my pizza base stay pale?
The base may be too thick, covered in wet toppings or cooked at too low a heat. A short pre-bake and less sauce usually help.
Can I cook two pizzas at once?
Only if they fit side by side without touching and the unit allows it. Otherwise, cook in rounds to keep air moving.
Is it safe to put raw meat on pizza?
Raw meat takes longer than pizza to cook, so use pre-cooked or cured toppings. Follow food safety guidance for any meat.
How do I keep the crust from drooping when I lift it?
Cook it until it is firm, let it rest briefly and lift with a wide spatula supported at the center.
The Short Version
Choose a pizza that fits with space around it, use moderate heat, and check early. Times run roughly 4-12 minutes, and package directions and your maker’s manual should come first.