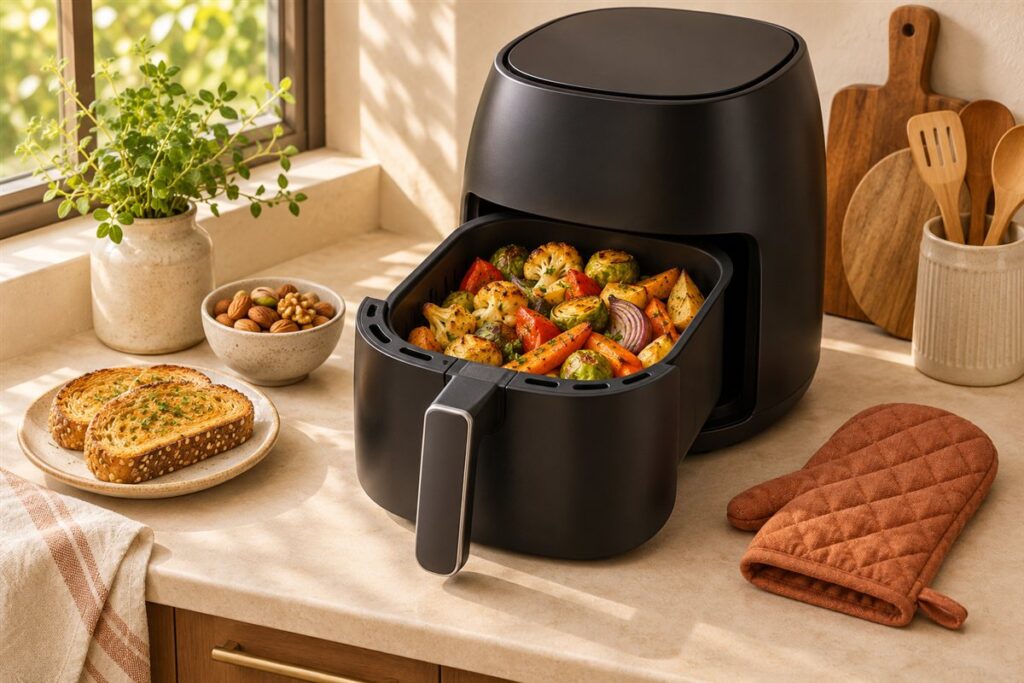
There is no single set of air fryer times that fits every model, because wattage, basket size, and food thickness all change the result. Treat any chart as a loose guide, check food early, and confirm doneness with a food thermometer and your maker’s guide.
What Changes Cooking Time
Two fryers set to the same temperature can cook the same food at different speeds. The main factors are:
- Thickness: a thick chicken breast needs far longer than a thin cutlet.
- Amount: a full basket takes longer than a single layer.
- Food temperature: food straight from the freezer or fridge takes longer than food at room temperature.
- Your unit: compact models and large ovens-style units move air differently.
Because of this, the safest habit is to check early, then add a few minutes if needed.
General Time Ranges
The ranges below are broad and meant only to help you plan. Always follow package directions, recipe notes, and your maker’s guide, and cook meat, poultry, and fish until they reach the safe internal temperature listed by food safety authorities.
| Food | Typical approach | When to check |
|---|---|---|
| Fresh cut potato wedges | Medium to high heat, shake partway | Early, then every few minutes |
| Chicken pieces | Medium-high heat, flip once | Use a thermometer in the thickest part |
| Fish fillets | Medium heat, short time | Flakes easily and is opaque |
| Sliced vegetables | Medium-high heat, toss once | Edges browned, centers tender |
| Frozen snack foods | Follow the package | Golden and hot throughout |
How to Build Your Own Chart
- Choose no more than five foods you cook often. Write the name of each at the top of a notes page or card.
- Cook each one once, using the package or recipe time as your guide.
- Check at the early end of the range and note how done the food looks.
- Record the final temperature setting, total minutes, and basket amount.
- Adjust next time by a minute or two and update your card.
After a few meals, you will have a personal reference that matches your own air fryer far better than any general chart.
Tips for Even Results
Preheat if your manual recommends it, spread food in a single layer, and shake or turn it halfway. Smaller pieces cook faster, so cut food to a similar size. If the top browns before the inside is done, lower the temperature slightly and extend the time.
Safe Doneness and Thermometer Use
A time chart tells you when to start checking, not when food is safe. Doneness for meat, poultry, and fish should be judged by internal temperature, and the target figures come from your local food safety authority. Keep a food thermometer near the air fryer and treat it as part of the routine, especially for chicken, ground meat, and thick cuts.
Insert the probe into the thickest part of the food without touching bone, the basket, or a pan. Check more than one piece if you cooked a batch, since smaller pieces finish sooner. If the reading is below target, return the food and check again after a short extra time rather than guessing.
Some visual cues help but should not replace the thermometer:
- Fish turns opaque and flakes with a fork.
- Vegetables show browned edges and a tender center when pierced.
- Breaded foods look golden and feel crisp.
- Frozen snacks are hot all the way through, with no icy patches.
Color alone can mislead, because the fan browns the outside quickly while the middle lags. This is especially true for thick pieces, so rely on temperature and use the clock only to know when to look.
Why Your Unit Runs Faster or Slower Than a Chart
Cooking charts are written for a typical unit, but real air fryers differ in power, fan strength, basket shape, and how accurately the thermostat holds the set temperature. A high-powered compact model may brown food in less time than a larger unit with the same setting. A wide oven-style unit may take longer to bring a whole tray up to temperature.
You can learn your own unit’s tendencies with a few simple tests. Cook a familiar food at a typical setting, check at the earliest suggested time, and note how it looks. If it is done too soon, shorten times next time. If it is pale, add a few minutes in small steps.
Keep these factors in mind:
- Preheating changes the first minutes of a cook, so be consistent about it.
- The first batch in a cold unit may take longer than a second batch in a warm one.
- Opening the drawer lets heat escape, so frequent checking slows the cook a little.
- Voltage and wiring in your home can slightly affect performance.
Use your manual’s own timing guide as the starting point, and treat general charts as a rough comparison.
Adjusting for Frozen, Fresh, and Pre-Cooked Food
The starting state of the food changes timing as much as the food itself. Frozen items arrive cold and often carry ice crystals, which add moisture and slow browning. Package directions are usually written for this case, so follow them first and adjust only after you see how your unit performs.
Fresh food starts closer to room temperature and usually cooks faster, but it varies with thickness and moisture. Pat fresh food dry, because surface water turns to steam and delays browning. Pre-cooked or reheated food needs only enough time to heat through and re-crisp, so check early to avoid drying it out.
Here is a simple way to think about each state:
- Frozen: follow the label, shake or turn partway, and check that the center is hot.
- Fresh: dry well, use a light oil coating, and check at the early end.
- Leftovers: use a moderate setting and short time so the outside does not burn.
- Thawed: treat like fresh, but handle with food safety in mind and cook promptly.
When in doubt, shorter timing with a re-check is safer than a long fixed cook, because you can always add minutes but cannot remove them.
Making a Personal Timing Card
A card or note taped inside a cabinet door often beats any printed chart, because it reflects your own air fryer and your own habits. Start by choosing a handful of foods you cook every week. For each one, write the temperature, the starting time check, and the finishing signs you look for.
Record the details that explain the result: how much food was in the basket, whether it was fresh or frozen, whether you preheated, and whether you shook or turned the food. Over a few weeks, patterns appear. You may find that a half basket always needs a few minutes less, or that a certain food browns better at a slightly lower setting.
A useful card has these parts:
- Food name and cut or thickness.
- Temperature setting and the first check time.
- Notes such as shake at halfway or pat dry first.
- A thermometer reading for meat and fish.
Update the card when a result surprises you. After a month or two you will rarely need to consult a general chart, and the card also helps other people in your home cook with the same results. Keep it near the appliance so it is easy to find.
Troubleshooting Uneven or Disappointing Results
When food does not match the time you expected, work through the likely causes one at a time instead of changing everything at once. Pale and soft food usually means too much food, too much moisture, or too low a temperature. Dark outside and raw inside points to a temperature too high for the thickness, so lower the heat and extend the time.
Uneven browning often comes from pieces of mixed size, food touching the basket walls, or skipping the mid-cook shake. Cutting items to a similar size and spreading them out fixes most of these problems. If one side of the basket cooks faster, rotate the basket or turn the food partway.
Common fixes include:
- Cooking in smaller batches for crispier results.
- Drying food well and using only a light coating of oil.
- Lowering the setting slightly for thick cuts and sugary coatings.
- Cleaning the unit so grease and crumbs do not cause smoke.
If results stay unpredictable after these changes, check the manual for troubleshooting advice or contact the maker, since a thermostat or fan fault can also affect timing.
FAQ
Do I need to preheat an air fryer?
Some makers recommend it and others say it is not needed. Check your manual. Preheating can help with crisp foods, while quick items often do fine without it.
Why is my food done sooner than the chart says?
Smaller baskets and higher-wattage units often cook faster. Take a look a few minutes early and write down the result for next time.
Should I cook at a lower temperature than the oven recipe says?
Often yes. Air fryers move hot air quickly, so many cooks reduce the temperature a little and shorten the time. Check your manual and look at the food early.
How often should I shake the basket?
Once or twice during cooking is common for loose foods such as fries or vegetables. Larger pieces may need only a single turn.
Do thick and thin pieces cook at the same speed?
No. Thick pieces take longer, and mixing sizes leads to some pieces overcooking. Cut or choose similar sizes and cook different thicknesses separately.
Why is my food pale even after the full time?
The basket may be too full, the food may be wet, or the setting may be too low. Dry the food, cook in smaller batches, and check the temperature setting.
Can I trust the timer on my air fryer?
Treat it as a guide. Timers count down accurately, but the cooking result depends on the food and the unit, so check doneness and use a thermometer for meat.
Do I add time when I cook a double batch?
Often a little, but not double. A fuller basket slows airflow, so check early and add short extensions. Cooking two smaller rounds can give better texture.
The Short Version
Use time ranges as a loose guide, check early, and rely on a thermometer for meat and fish. Keep a small personal card of what works in your own unit.